Friday, February 28, 2014

Clutch Purse

Decided to take a little break from the pinwheel album
to create this little clutch purse card holder.
My friend, Nancy, had just done one
and I couldn't wait until she
had time to show me how
she did it, so I googled it
and found this fabulous you-tube video
that shows you step-by-step.
It's by a Stampin' Up demonstrator in the UK.
 
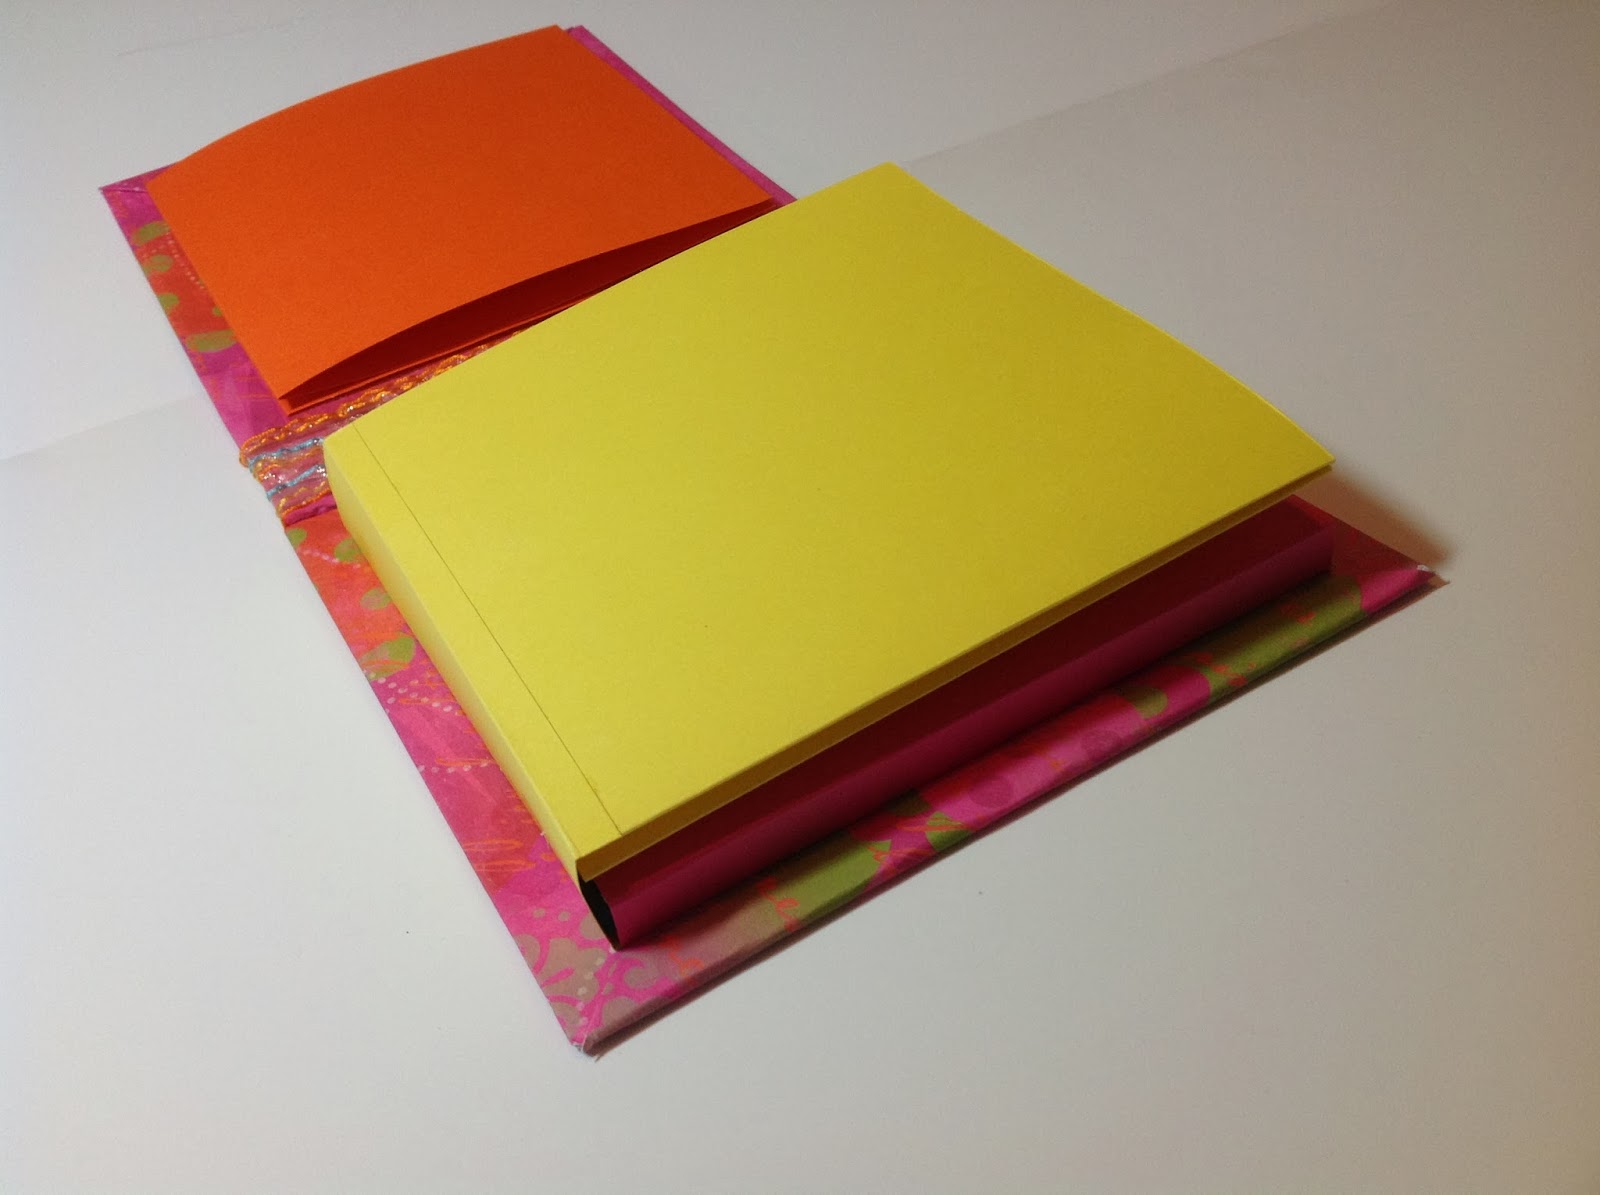
Here's my first attempt. 
I must say that it's pretty easy.
The normal A2 cards will not fit,
but it's perfect to hold a set of cards and envelopes
for a pretty gift. It's made using the
We R Memory Keepers
Envelope Punch Board.
 
 
I used some DP from an old
Stampin' Up stash.
It features self closing "tabs".
There's one in the back that
tucks down into the box.
You can see the one in the front
that's used for the flap.

 
The ribbon is also from Stampin' Up.

 
The pretty flower "bling" is from ???
I've purchased bunches of loose
bling over the years and just
store them in jars.
Pearls are from Bo Bunny.
Ooops - I see I missed cleaning
off a bit of glue - those camera
close-ups are a good tool for those
pesky details LOL.
 
 I plan on doing a few more of these
and fill them with cards, but this
was my prototype.
 
Hope you enjoyed it.


x_3c1d1a87 photo x_3c1d1a87.gif

alt

Butterfly

Wednesday, February 26, 2014

Phase IV - Pinwheel Album

This is becoming quite the project LOL.
I'm still basically on phase 3, but
it's slow going.   Here are a few more photos
and I still have another full section to do
pockets and tags for before I
venture into the final "bling" phase.


Here' s the top of the blue section
where I added another pocket using
one of the big flowers, but used it
in conjunction with a blue background
instead of a stand-alone.
Used a Spellbinder's die for the tags.
 
 
Here's the first flip out of the blue section.
I've added decoration to the pocket
and two tags decorated with a punched
out area. More on the funky flower in a bit.


Here's the blue section partially done
and opened up.  There's a tag
under the flower "pocket" and
a tag in the big pocket.
 
 
Below are four chipboard flowers
that I've had for eons.
They've been embossed several
times each with a couple of different
embossing powder colors
and finished off with Magic Speckle
to give them an enameled look.
All the EPs are from Sparkle N Sprinkle.
While the EP was still hot I pressed
a stamp from Sparkle N Sprinkle's Swirls Set
into the hot EP to give it texture.
The paper flowers on top were cut out
using the Spellbinder's Rose Creations die
and topped off with Stampin' Up stick on pearls.


More to follow in a few days...


x_3bfa0be9 photo x_3bfa0be9.gif

Sunday, February 23, 2014

Pinwheel Album Part III

Well, I thought Part III would be the end
LOL, but it's taking me longer than I expected.
I'm slowly getting some of the pockets filled
with tags and adding more embellies, but
have a long way to go.
This may turn out to have several more parts!
 
Here's a peek at where I'm at now.
 
 
Started with the left (orange) side and added a little
more to the pocket along with a tag.

 
First flip shows two tags under the floral "pocket"
and a mat for the other panel.

 
Here's the fully opened section.
Two parts just have mats.
One has a double pocket and a couple of tags.
The third has a pocket and a tag with a pocket on the tag.

 
Here's the first flip of the yellow section.


The fully opened yellow section has
a deep pocket with a tag, another floral
pocket with tags, and I added another scalloped pocket
with a scalloped tag.
 
I'm not done with the orange section yet,
but moved on to the next.
It's a step by step deal, I guess.
Basic album, basic set up,
basic, tags, etc.
 
Then when that's done -
on to the heavy bling LOL...
 
Hope you're enjoying my little journey.


x_3c440da1 photo x_3c440da1.gif

Sunday, February 16, 2014

Pinwheel Album - Part II

Another photo-intensive post, but here's
phase II of the pinwheel album.
I've pretty much got all the pages
with the "basic" decorations
and pockets.  Since I made each
section a different color, it should
be easier to see the folds, etc.
My DP was Prima's
The Sasha Paper Collection stack.
 
 
Here's the album when it's first opened up.
The left side holds one section (orange)
The right side holds three sections (yellow, pink & blue)

 
Here's the left side with the first opening
(flipped down)
The pink flower was layered onto CS
and fussy cut - it's attached on one side
and the bottom to use as a pocket.

 
Here's the left section with the second opening
(flipped over to the left)

 
Here's the right side.
The yellow section opens first
(flipping down)

 
The next opening for the yellow section
is another flip downward.

 
The last opening for the yellow section
(flipped to the right)
The top right section has another flower
adhered to CS and used as a pocket.

 
Next up is the pink section
(flipped to the right)

 
The next opening for the pink section
is another flip to the right
Another pink flower pocket on the center panel.

 
The last opening for the pink section
(flipped upward)

 
The blue section's first opening
(flipped upward)

 
Blue opening number two is
another flip upward.

 
The last opening for the blue section
(flipped to the left)
The green and pink flower was
also used as a pocket.

 
Here's a photo of the entire album opened
up - you can see where pinwheel comes from.

 
Here's a closer view
the inside "base"
is also decorated and
has a pocket.

 
Here's a close-up of the layers
in their closed positions.

 
Here's what the album looks like
standing up with the sections closed.

 
Here's the front of the album.....
 
Phase III will be more
decorating of the individual pages
and the addition of tags, etc.
Stay tuned :)
 
Hope you enjoyed the show.


Friday, February 14, 2014

Pinwheel Album beginnings

A while ago I saw an intriguing video on
this Pinwheel Album that she created.
I've since found a second video showing
the same album, but decorated differently.
It' pretty cool!  Since it was a video only
of her completed project and not a
tutorial with dimensions and instructions,
it's taken me a while to get this in gear.
 
I thought I'd break it up a bit, since
it will be photo intensive.
 
With all the cold, rain & snow that's been
going on for the past couple of months that
I would do the project in bright summer colors!
Here's the start....
 
 
I opted to use 12 x 12 sheets of cardstock for
my "base" album pages - which when folded
up makes them 6 x 6.
 
So - I decided to make my album cover
(chipboard) 7 x 7 and the spine 7 x 1 1/2


On the right side, I needed "spines" to attach
the other three pages - so made them in
graduated sizes 1/4"  -  3/4"  -  1"


Here's the right side with the 3 album sections added.

 
Here they are with two levels unfolded

 
This has one level unfolded.

 
This shows the entire right side "packet" prior to
attaching it to the album.  This is the bottom.

 
Here's the album with the inside cover
decorated and both the right and
left side album sections attached.
I attached a ribbon that matched around
the entire front and back of the spine.

 
Here's the outside of the album and you
can see the "spine" of the bottom section.

 
When all the album sections are unfolded
they resemble a pinwheel shape.

 
The top folds down first (blue),
then the side panel folds in (pink)
and lastly the bottom (yellow) section.

 
Another view with the bottom partially closed.

 
More of the section partially closed

 
This one has the orange, blue and pink sections closed


Here's a close-up of the pretty, funky ribbon that
I used on the spine, both inside and outside.
There's possibly going to be a "flower" for the
outside made from the same ribbon....

 
This shows the album opened with the sections all closed.
 
More as I get going  :)
 
Hope you've enjoyed the journey so far.


Related Posts Plugin for WordPress, Blogger...
Blogging tips