Showing posts with label stampin' up. Show all posts

Thursday, November 13, 2014

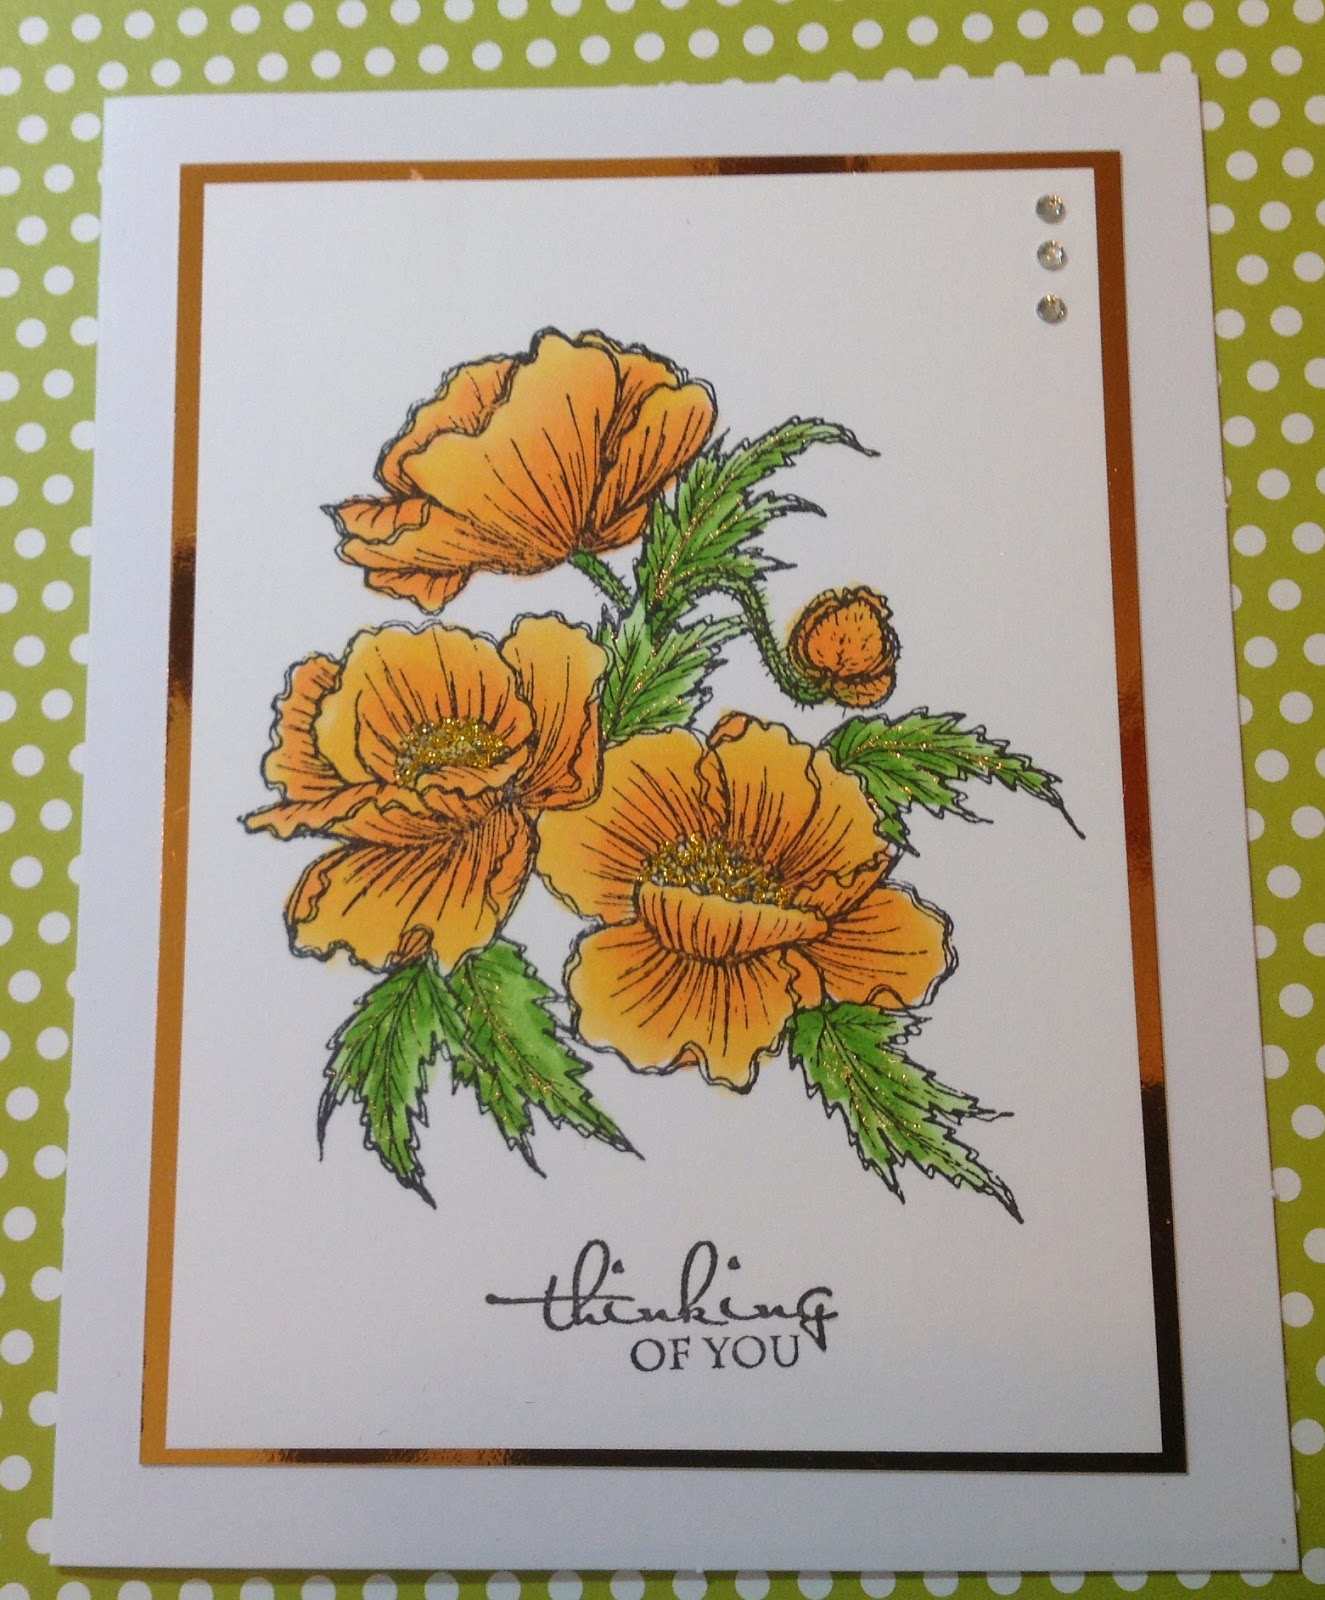
A Random set of cards from the Craft Sale

Here are a few cards
from the weekend craft sale
from various categories ...
 
All colored with my trusty Copics...
 
 
This gorgeous flower is an oldie from
Inky Antics and the embossing folder
and dies from Spellbinders...

 
A favorite jug from Judith and the flowers are
also Judith...   colors so beautifully

 
This beautiful image is from Yvonne Albritton's
collection and the greeting from SU....
So sorry that Yvonne is no longer in the business
as she had some awesome images.

 
Here's a close-up of the centers filled
with gold micro-fine glitter...
 
 
Brenda


Wednesday, July 16, 2014

Mommy & Daddy

A little mommy & daddy time
with a little of Charlie thrown in
for good measure.
 
 
Good times with Mommy


More fun with Mommy
and flowers made with
Spellbinders dies and
Stampin' Up punches
and designer buttons.

 
Special times with Dad & Charlie

 
Special times with Daddy
 
The Mommy & Daddy on two of the pages
were done with chipboard pieces that
have been embossed with Sparkle N Sprinkle's
Cosmic colors using the Batik Embossing
technique and with a little Magic Speckle
added to make them look like ceramic pieces.
 
Hope you've enjoyed these :)


Tuesday, March 18, 2014

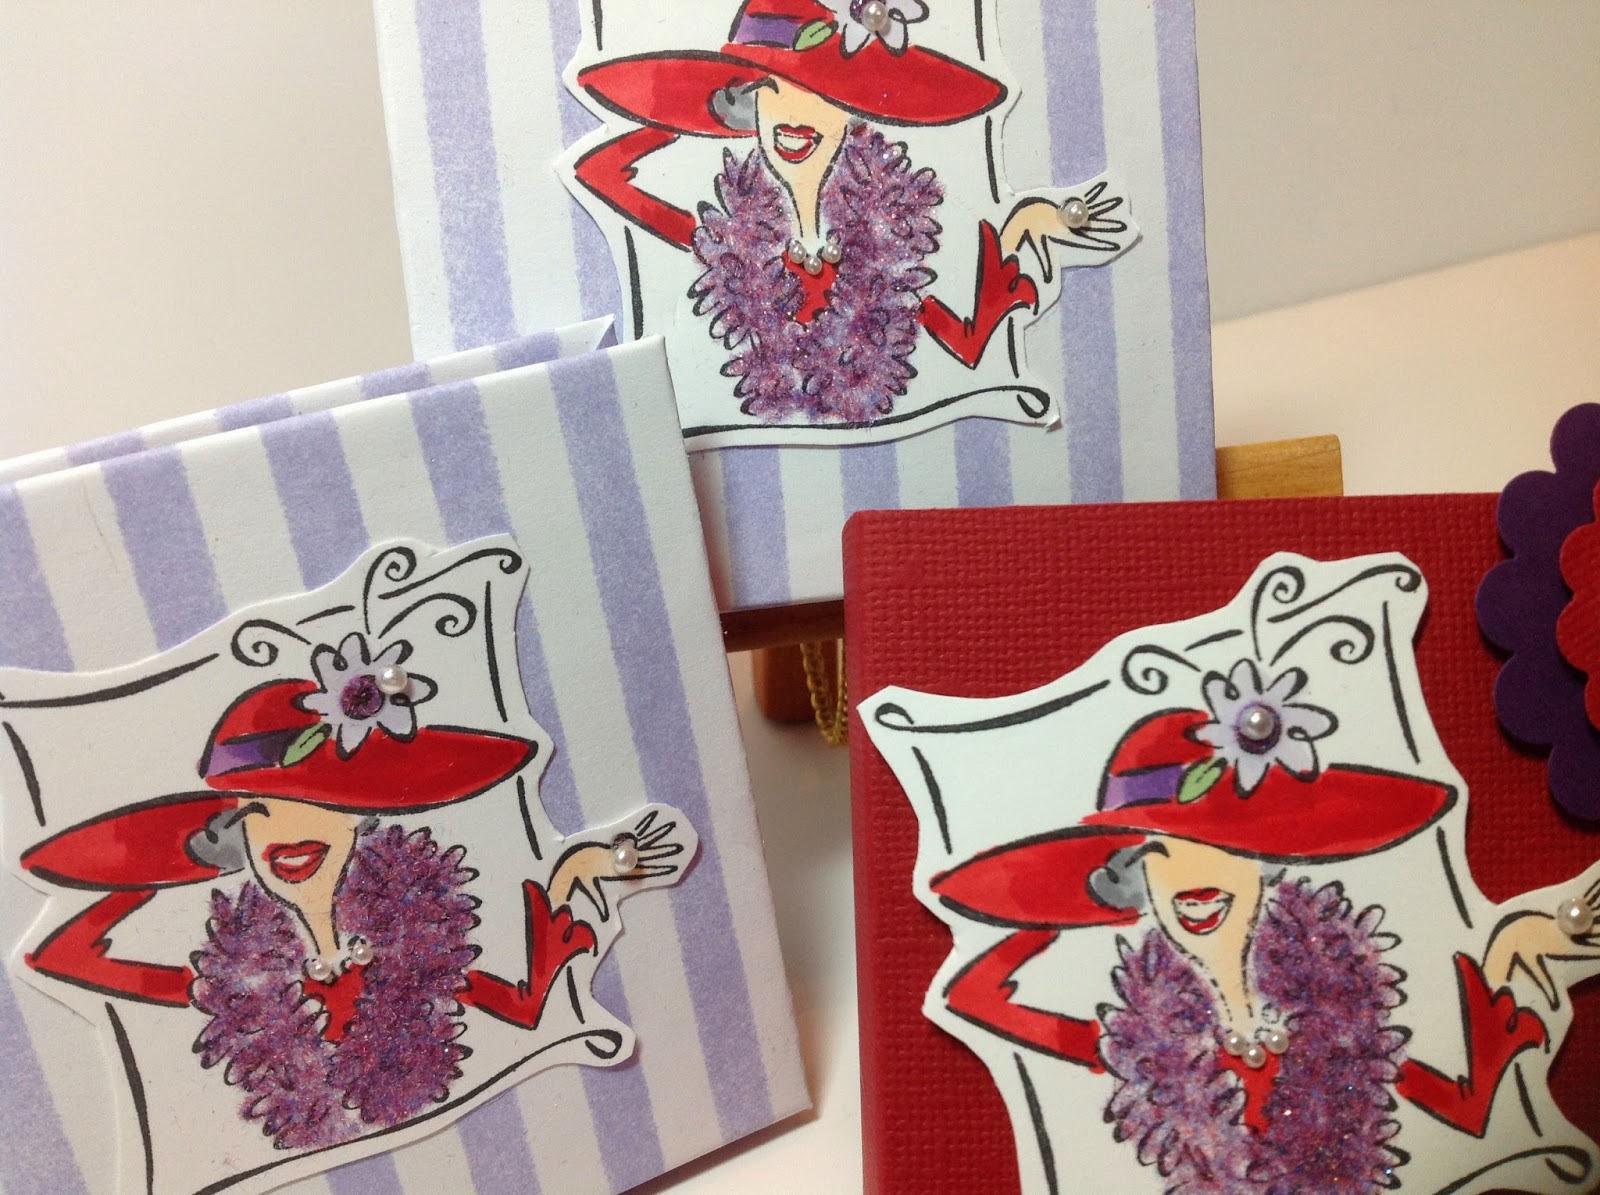
Red Hat Lady Post-it Note Holder

 
I had so much fun making the first
post-it note holder and box set,
that I did another.  This time
I used an old Stampin' Up set
and did it like the Red Hat Ladies.
The boa is done with Sparkle N Soft
from Sparkle N Sprinkle.


Thanks for checking in :)


Wednesday, March 5, 2014

Yippee - the Pinwheel Album is finally done.

It seemed like a long never ending project,
but I've finished the first pinwheel album.
It was fun and I think perhaps I'll try
another in a while - maybe with
a travel theme since I have another
cruise coming up next month.
 
Anyway - here are the photos
with the pages and tags
"blinged up".
 
I used stick on pearls and rhinestones
from Stampin' Up - some jewels from
Bo Bunny, Darice, ZVA Creative along
with some unknowns
that I had in my stash...
I also highlighted some of the
flowers and swirls with a
glittery Gelly Roll pen. (that
part didn't come out well in the photos)


The only thing left to add is photos!
Hope you enjoyed the journey.
 
Stay tuned..........
 

alt


Friday, February 28, 2014

Clutch Purse

Decided to take a little break from the pinwheel album
to create this little clutch purse card holder.
My friend, Nancy, had just done one
and I couldn't wait until she
had time to show me how
she did it, so I googled it
and found this fabulous you-tube video
that shows you step-by-step.
It's by a Stampin' Up demonstrator in the UK.
 
Here's my first attempt. 
I must say that it's pretty easy.
The normal A2 cards will not fit,
but it's perfect to hold a set of cards and envelopes
for a pretty gift. It's made using the
We R Memory Keepers
Envelope Punch Board.
 
 
I used some DP from an old
Stampin' Up stash.
It features self closing "tabs".
There's one in the back that
tucks down into the box.
You can see the one in the front
that's used for the flap.

 
The ribbon is also from Stampin' Up.

 
The pretty flower "bling" is from ???
I've purchased bunches of loose
bling over the years and just
store them in jars.
Pearls are from Bo Bunny.
Ooops - I see I missed cleaning
off a bit of glue - those camera
close-ups are a good tool for those
pesky details LOL.
 
 I plan on doing a few more of these
and fill them with cards, but this
was my prototype.
 
Hope you enjoyed it.


x_3c1d1a87 photo x_3c1d1a87.gif

alt

Butterfly

Friday, February 7, 2014

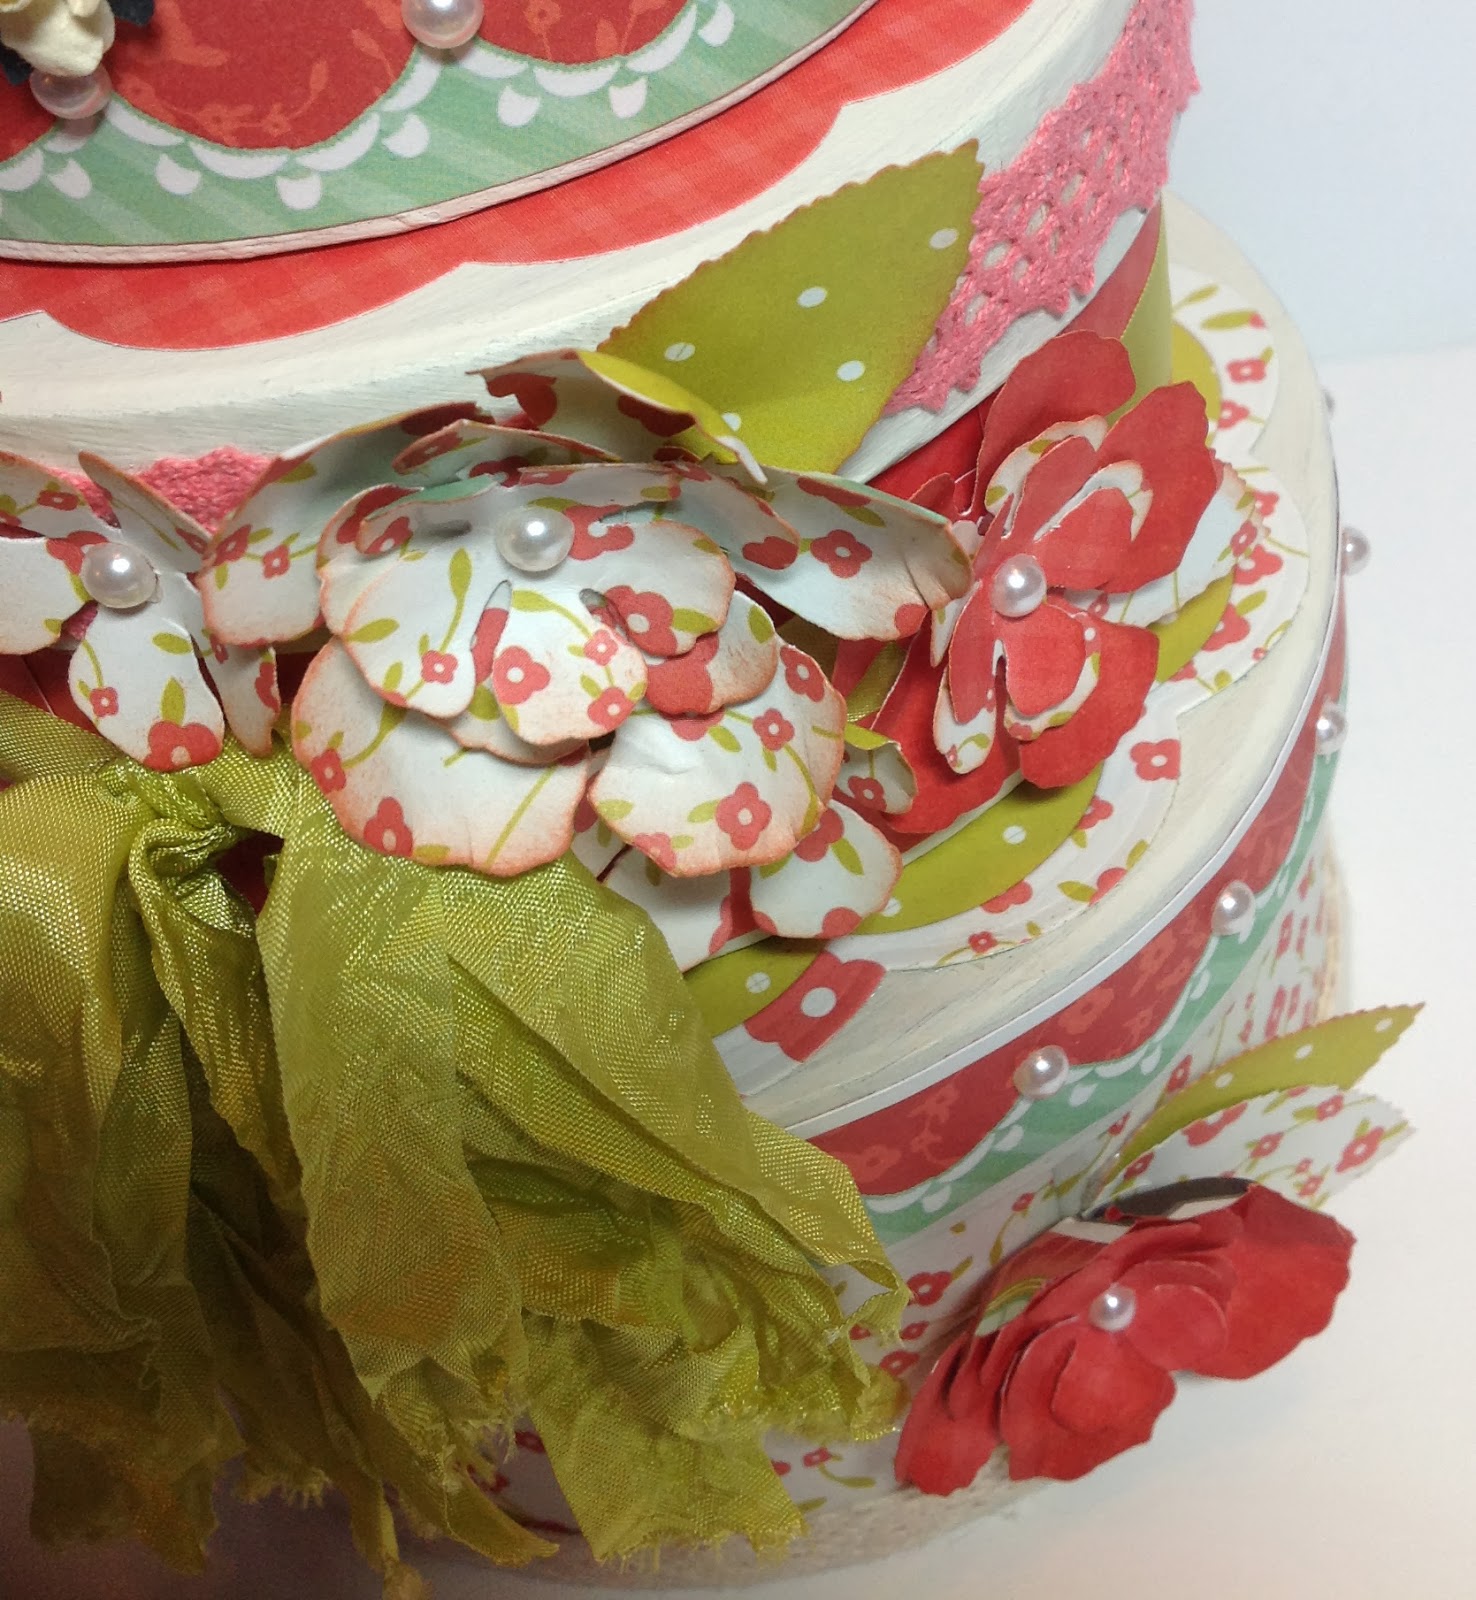
Boxes in the Round Finished

Finally finished decorating my
boxes in the round.
My husband says it looks like
a birthday cake.....


Here are two views....
With the exception of the
tiny cream flowers, the others
were all made with either the
Spellbinders Rose Creations dies
or a Cricut image.
I sponged them with Memento Potter's Clay ink
and added SU Pearls.
Found some seam binding in my stash
to add and the laces are from May Arts.
 
Here are a couple of close-ups.


The boxes were a lot of fun to decorate.
Hope you enjoyed them.
 
Brenda


Thursday, January 30, 2014

Yummy for Your Tummy


Here's an oldie, but goodie...
Love the little milk cartons and
the little carry box to hold the set.
 
 
The cute little birdie is a Judith image
and the greeting is Stampin' Up.

 
The Jelly Bean phrase is from Sparkle N Sprinkle.

 
Here's a close-up of the milk carton....  once I got
started, they were quite easy.

 
The little birdie was "fluffed up" using
Sparkle N Soft flocking from Sparkle N Sprinkle
and adhered with a Sakura Glue Pen.

 
Here's a photo of the four milk cartons
and their handy-dandy carrier.
 
You can find many various tutorials
for these milk cartons if you look around
including one by Beate Johns on Splitcoaststampers.com
 
Fill them up with candy or other
treats and they're perfect
for Valentine's Day, Easter
or any other event..
 
Thanks for stopping by...


Tuesday, January 21, 2014

Pink & Brown

I saw this cute box idea on a blog
I follow and went to SplitcoastStampers.com
and got the tutorial, but can't for the life
of me remember who I got the idea from :(
If it was YOU - thanks bunches!!!
It's another easy-peasy fun to do project.
 
Again, I made it simple as it will
just be my "prototype" for a
possible future class project.
I plan to do more boxes and those
I will make a little more elaborate.
 
I always try to make something a little
more "plain" the first time out
of the box (no pun intended LOL)
so that I have it for a sample to work from.
 
Here's my prototype.
 
 
The box was created using pink and brown CS from SU.
I attached the pink and brown decorative panel
together and then used a Sizzix (SU) embossing folder
to give it texture.
The greeting is also from SU from the Oval All Stamp Set
and punched with the SU Label punch.
The brown velvet brad was from Creative Imaginations.

 
Here's a close-up of the embellies.

 
The inside of the box has space for candy!  Yippee...
The tutorial shows 5 Hersey Kisses,
but, unfortunately, I ate them all before I made the box.
The greetings are more SU images
and as you can see, there's a slot for a gift card.
The decorative "slot" w as using the
SU Labels punch.
I also opted to use a corner rounder on the pizza box
type cover and used a Velcro dot to hold the
box together.  You can see that it "pouches the box out"
and for future boxes, I would use a ribbon tied around
the box as a closure instead.
I'd also go a little fancier with my inside too
depending on what the occasion was.
 
Hope you enjoyed my "prototype" for this fun project.


x_3c440cb0 photo x_3c440cb0.gif
Related Posts Plugin for WordPress, Blogger...
Blogging tips