Welcome back for Part Two of
Smile....you're on Candid Camera.
As promised, here is the little album
that was tucked inside the Polaroid Camera.
There are tons of photos to show it off.
The outside of the album was made from
black chipboard and it was decorated
with Bo Bunny's Mama Razzi 2 paper
and embellies.
For this part, we only had the class kit that my sister got
along with the dimensions of the base album....
only three pictures - so it was a little difficult to figure
out exactly what she did and how she put it
together - so this basically has our spin on it.
What a fabulous creation she came up with though!!!
If you missed the previous post, you may want to
go back and see that first. The entire project
was created by Magdalena for a class
given at Stamping Details in Poway, Calif.
Here's the little album....
too cute, right!!!
The little black "glass" piece was another
piece of black chipboard globed with
Crystal Accents.
The little Polaroid Camera was made
out of cardstock and attached to
the album flap.
There's a little plastic bead attached
with cording to the side.
The album itself was made from black chipboard.
Here's the front cover with the flap opened.
This is a view of the back of the album.
For the pages, I'm going to show them
undecorated first and then the decorated
page beneath it. The photos were
all from our recent Caribbean Cruise.
Here's the initial view when the album
is first opened up.
This is the inside of the front cover with a
pocket on the left side and a flip-up flap on the right.
Here's the pocket with photos.
We left out of Brooklyn, so got
a great shot of the new World Trade Center
and lower Manhattan.
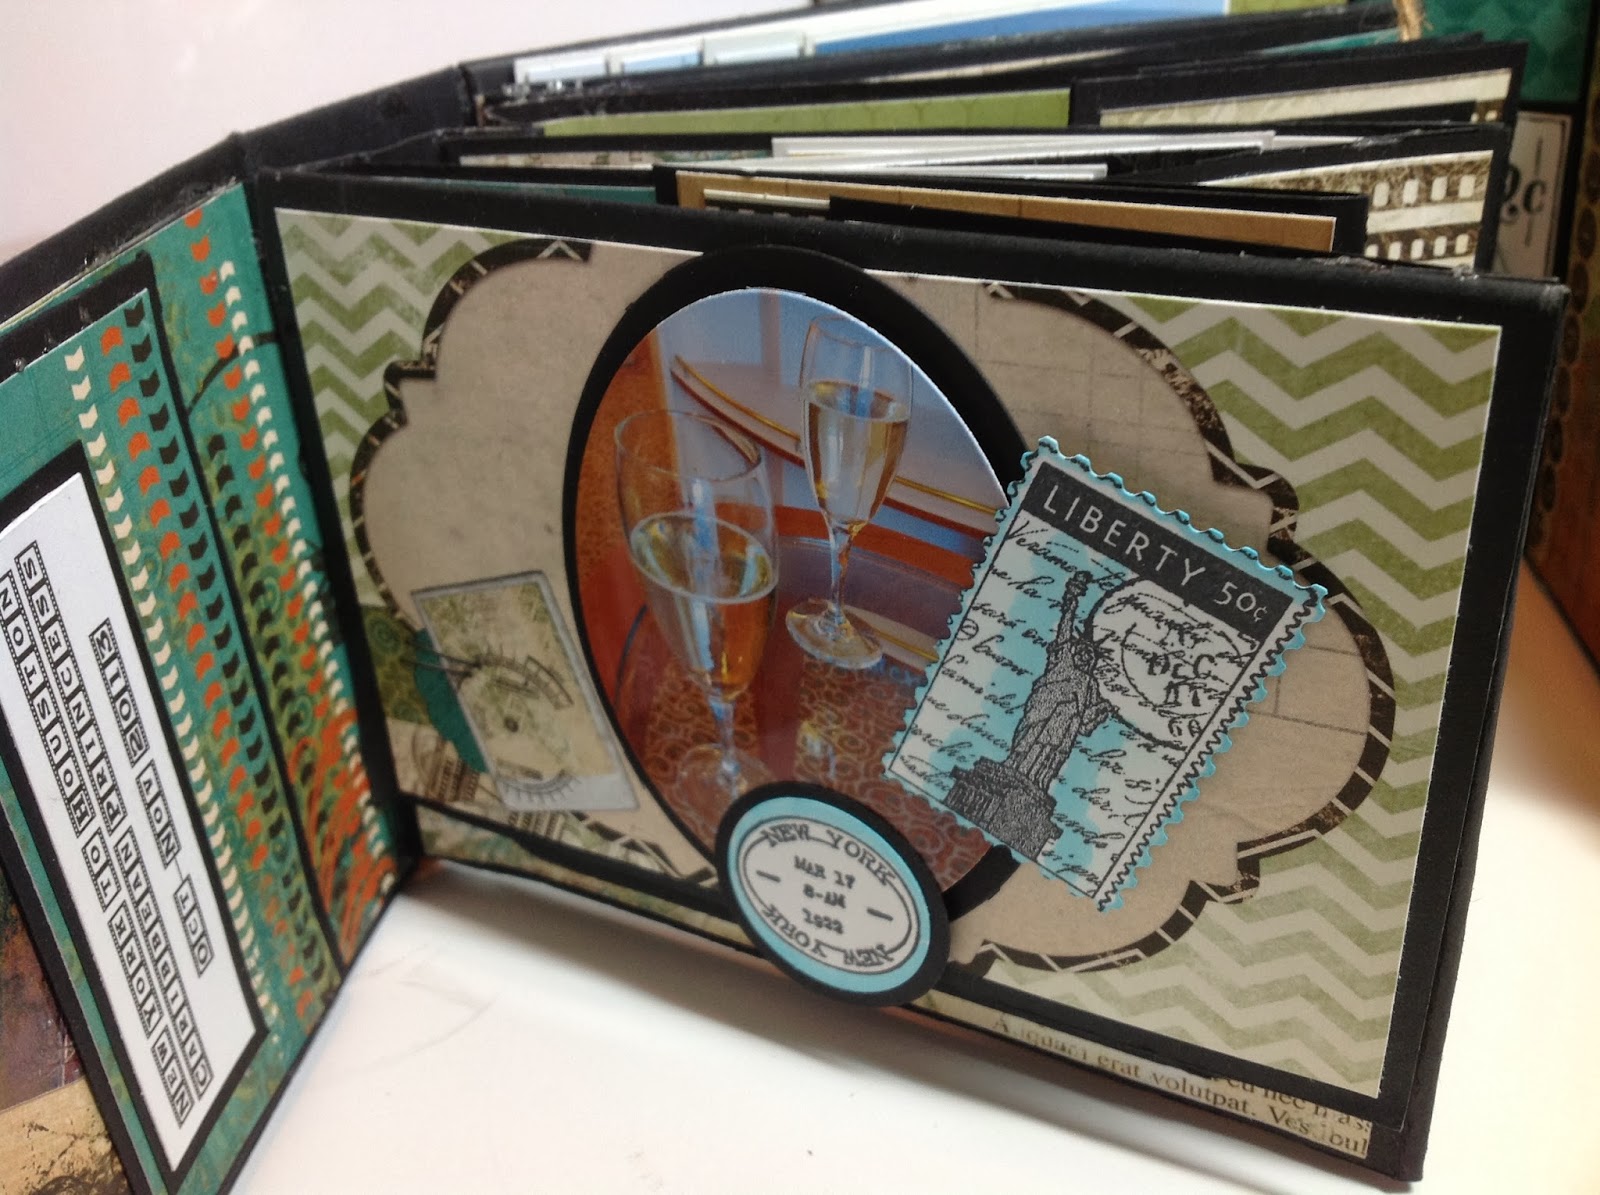
Here's the front of the flip-up flap with
our welcoming champagne!
The postage stamp is from a Hero Arts
boxed set and the little New York oval
image is from Hampton Arts.
I added a bit of color with my Copics.
Here's a shot of the first flip-up page
Here's the inside decorated...
sorry the photo is a little dark....
Dennis & I on the bottom and our
friends, Carl & Mary on the top.
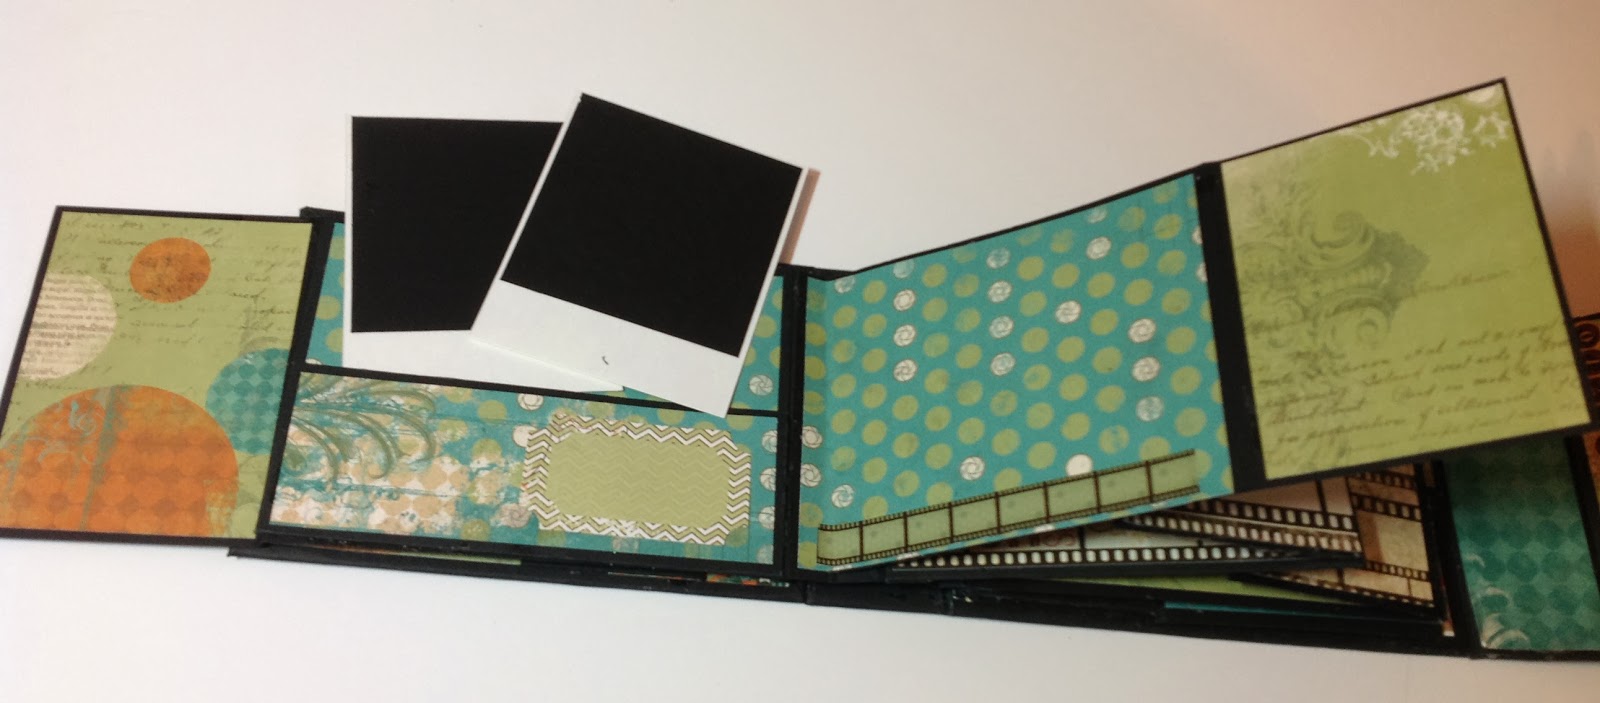
Here's the next page opened up. As you can see
there are two flaps - one on each side.
When they're opened up, there's also a pocket
and two "polaroid photos"
I created these from glossy cardstock, and added
the black square from matt finish cardstock
on the back... when you see the photos
they'll be on the opposite side.
These were not part of the class kit,
these I made up on my own :)
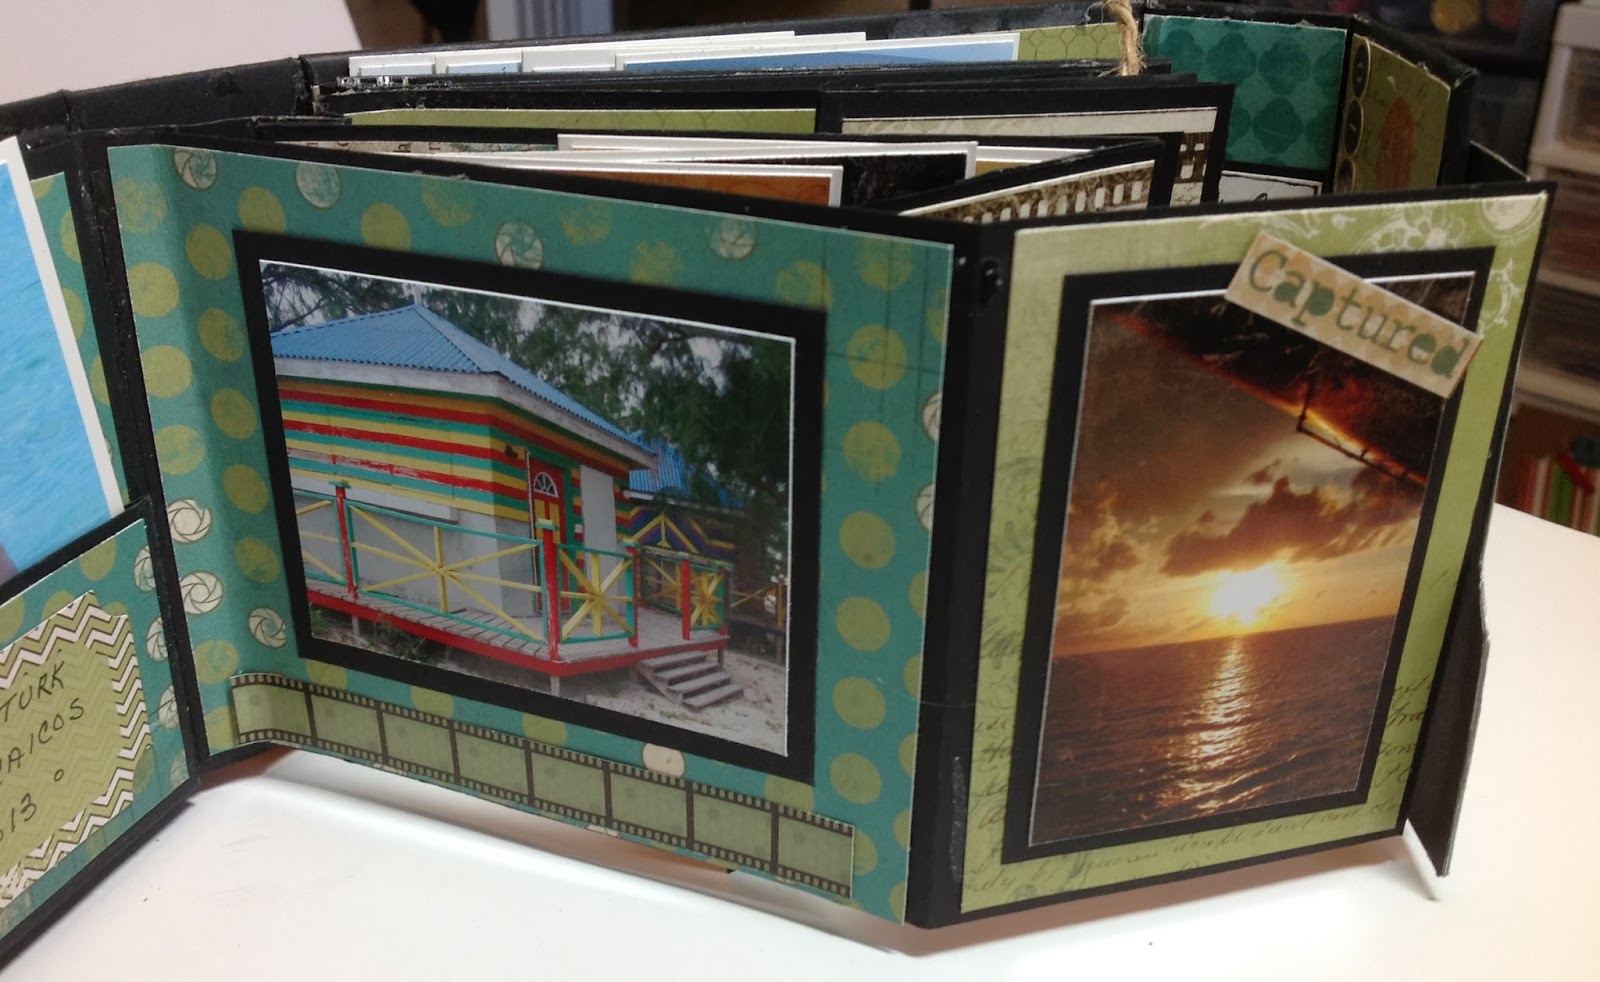
Here's the right side panel and flap.
Here's the left side flap and pocket with the
fake polaroids.
These were from Grand Turk in the Turks, Caicos.
Here are the outside flaps decorated.
Here's the next page.
A pocket on the left
A pocket in the center
A flap on the right side with
a pocket on the inside of the flap
There's a pull-out panel on the left pocket.
Three "polaroids" in the center and
a little envelope in the right pocket
that I filled with our "cruise cards"
photo copied and layered on CS.
I've since added little block letters to the small
envelope that says "tickets".
Here's the left flap pocket with
a photo of our table mates from dinner
and the center pocket filled with the 3 fake
polaroids from formal night.
Here you can see the front and backs of my
"fake" polaroids.
The next page opened up has a
pocket on the left and a flap on the right
Here's the pocket insert and the
inside pocket on the right flap with a tag.
I'm missing the photo from the back side
of the right flap... sorry.
This photo shows the back of the flap from
the previous page with our wait staff.
The pocket with it's pull out panel
has a photo from Curacao.
Here's the inside panel with a view of Curacao
and a view of the pull out tag from the right flap pocket.
The next page has a blank on the left,
a pocket in the center and a
flap on the right
I replaced the two "fake" polaroids with
a pull-out insert instead as you will
see below.
You can see the beautiful beach along 7-Mile Beach
in Grand Cayman on the left.
The right side shows the back of the right
flap and I added my own touch with
an accordion attachment.
The photo is a "veggie" monkey.
Here's the replacement pull-out
and another view of the beautiful beach.
Here are a couple of the photos from the
accordion pull-out....
One shows (not clearly here - sorry)
the Halloween display in the atrium
and the second shows the
board in the Casino - I made the finals
for the slot tournament
So sorry - did not win :(
Here's the other side of the accordion file.
Here's the veggie monkey again and
a view of the Caribbean Princess on
the outside of the flap on the last page.
Are you tired yet????
We're on to the last page and back cover.
The left side of the back is a flap.
The back of the album is a pocket. You can
see that I swapped out the insert panel for the
previous page and replaced it
with 4 "polaroids".
Here's the left side flap raised up.
Photos on the left side were various shots
during the cruise. The outside of the flap
was a shot of the Caribbean Princess.
You can see a part of it below.
Here are the 4 "polaroids" from our
visit to the ruins at Tulum... What a beautiful place!
It's right on the ocean.... we docked at Cozumel and took
the ferry over for the tour.
The stamp on the album spine is another
Hero Arts image colored with Copics.
I hope you're not too worn out!
This was a lot of fun to make, but it took us DAYS
to try and figure out. Hopefully, we did Magdalena
justice with our end result and our own twists on her pattern.
Not sure I'd ever make another, but
it really looks cool on my shelf
and it's a nice reminder of our cruise.
Thanks for letting me share.